By default, ActiveTick comes up with an empty workspace without any pages. When first window is opened, ActiveTick automatically creates a new page which is visible on the bottom tab:

To add an additional page to the workspace, click on Workspace - > Insert Page menu option:

Alternatively, a page could be added by right clicking on one of the pages and selecting Insert Page menu option:

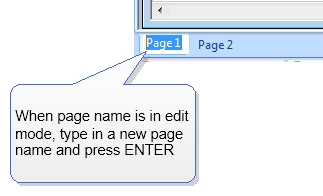
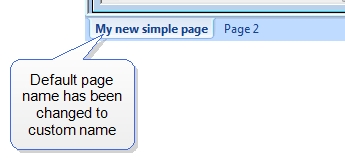
When a new page is inserted into workspace, it is given a generic Page # name, where # is the count of existing pages within the workspace. To change the page name, right click on the page and select Rename menu option. Once this is done, the name of the page turns into a text editor, and a new name could be specified by typing it in the editor:

To save the new name, press ENTER, or to cancel press ESC:

Pages can be removed from workspaces by right-clicking on desired page, and selecting Delete Page menu option:

Once page has been deleted from the workspace, all data within that page is lost.
To switch between different pages, simply click on a desired page tab. ActiveTick will then load the contents of the page and display them on the screen:

To avoid unnecessary network traffic, ActiveTick only streams information for the selected page. When a new page is selected, the previously selected page will close all of its windows along with streaming updates, and load windows for the new page, along with new streaming updates.
ActiveTick remembers all changes made to workspaces, but the changes are not saved to the file until the workspace is explicitly saved. To learn about how to save a workspace, See "Saving and Loading Workspaces"
Copyright © 2006-2009 ActiveTick LLC